Retron 5 Teardown

This teardown is of the 1st revision Retron 5. RetroJunkie has uploaded pics of a newer version. The main motherboard looks the same, however some of the post-production additions have been corrected. See pictures here:
https://plus.google.com/photos/+ShaneMcRetro/albums/6115120071519844337
The Retron 5 comes apart easily, by removing the rubber feet and six screws:
The top cover comes right off, but is still connected by the wire powering the LED lights. Those lights are way too bright and I plan on leaving that cable disconnected:
The large center board mainly consists of the cartridge slots and a Xilinx Spartan-3 FPGA, but there are some interesting things to be seen! First of all, it looks like the board has holes for another cartridge slot (click for full size):
Second, there is a very sloppy addition to the board, which connects the holes in the un-used slot to the Genesis port. This could certainly explain why the Genesis slot in my original unit didn’t work properly. Also, the replacement until they sent me has the same addition (click for full-size):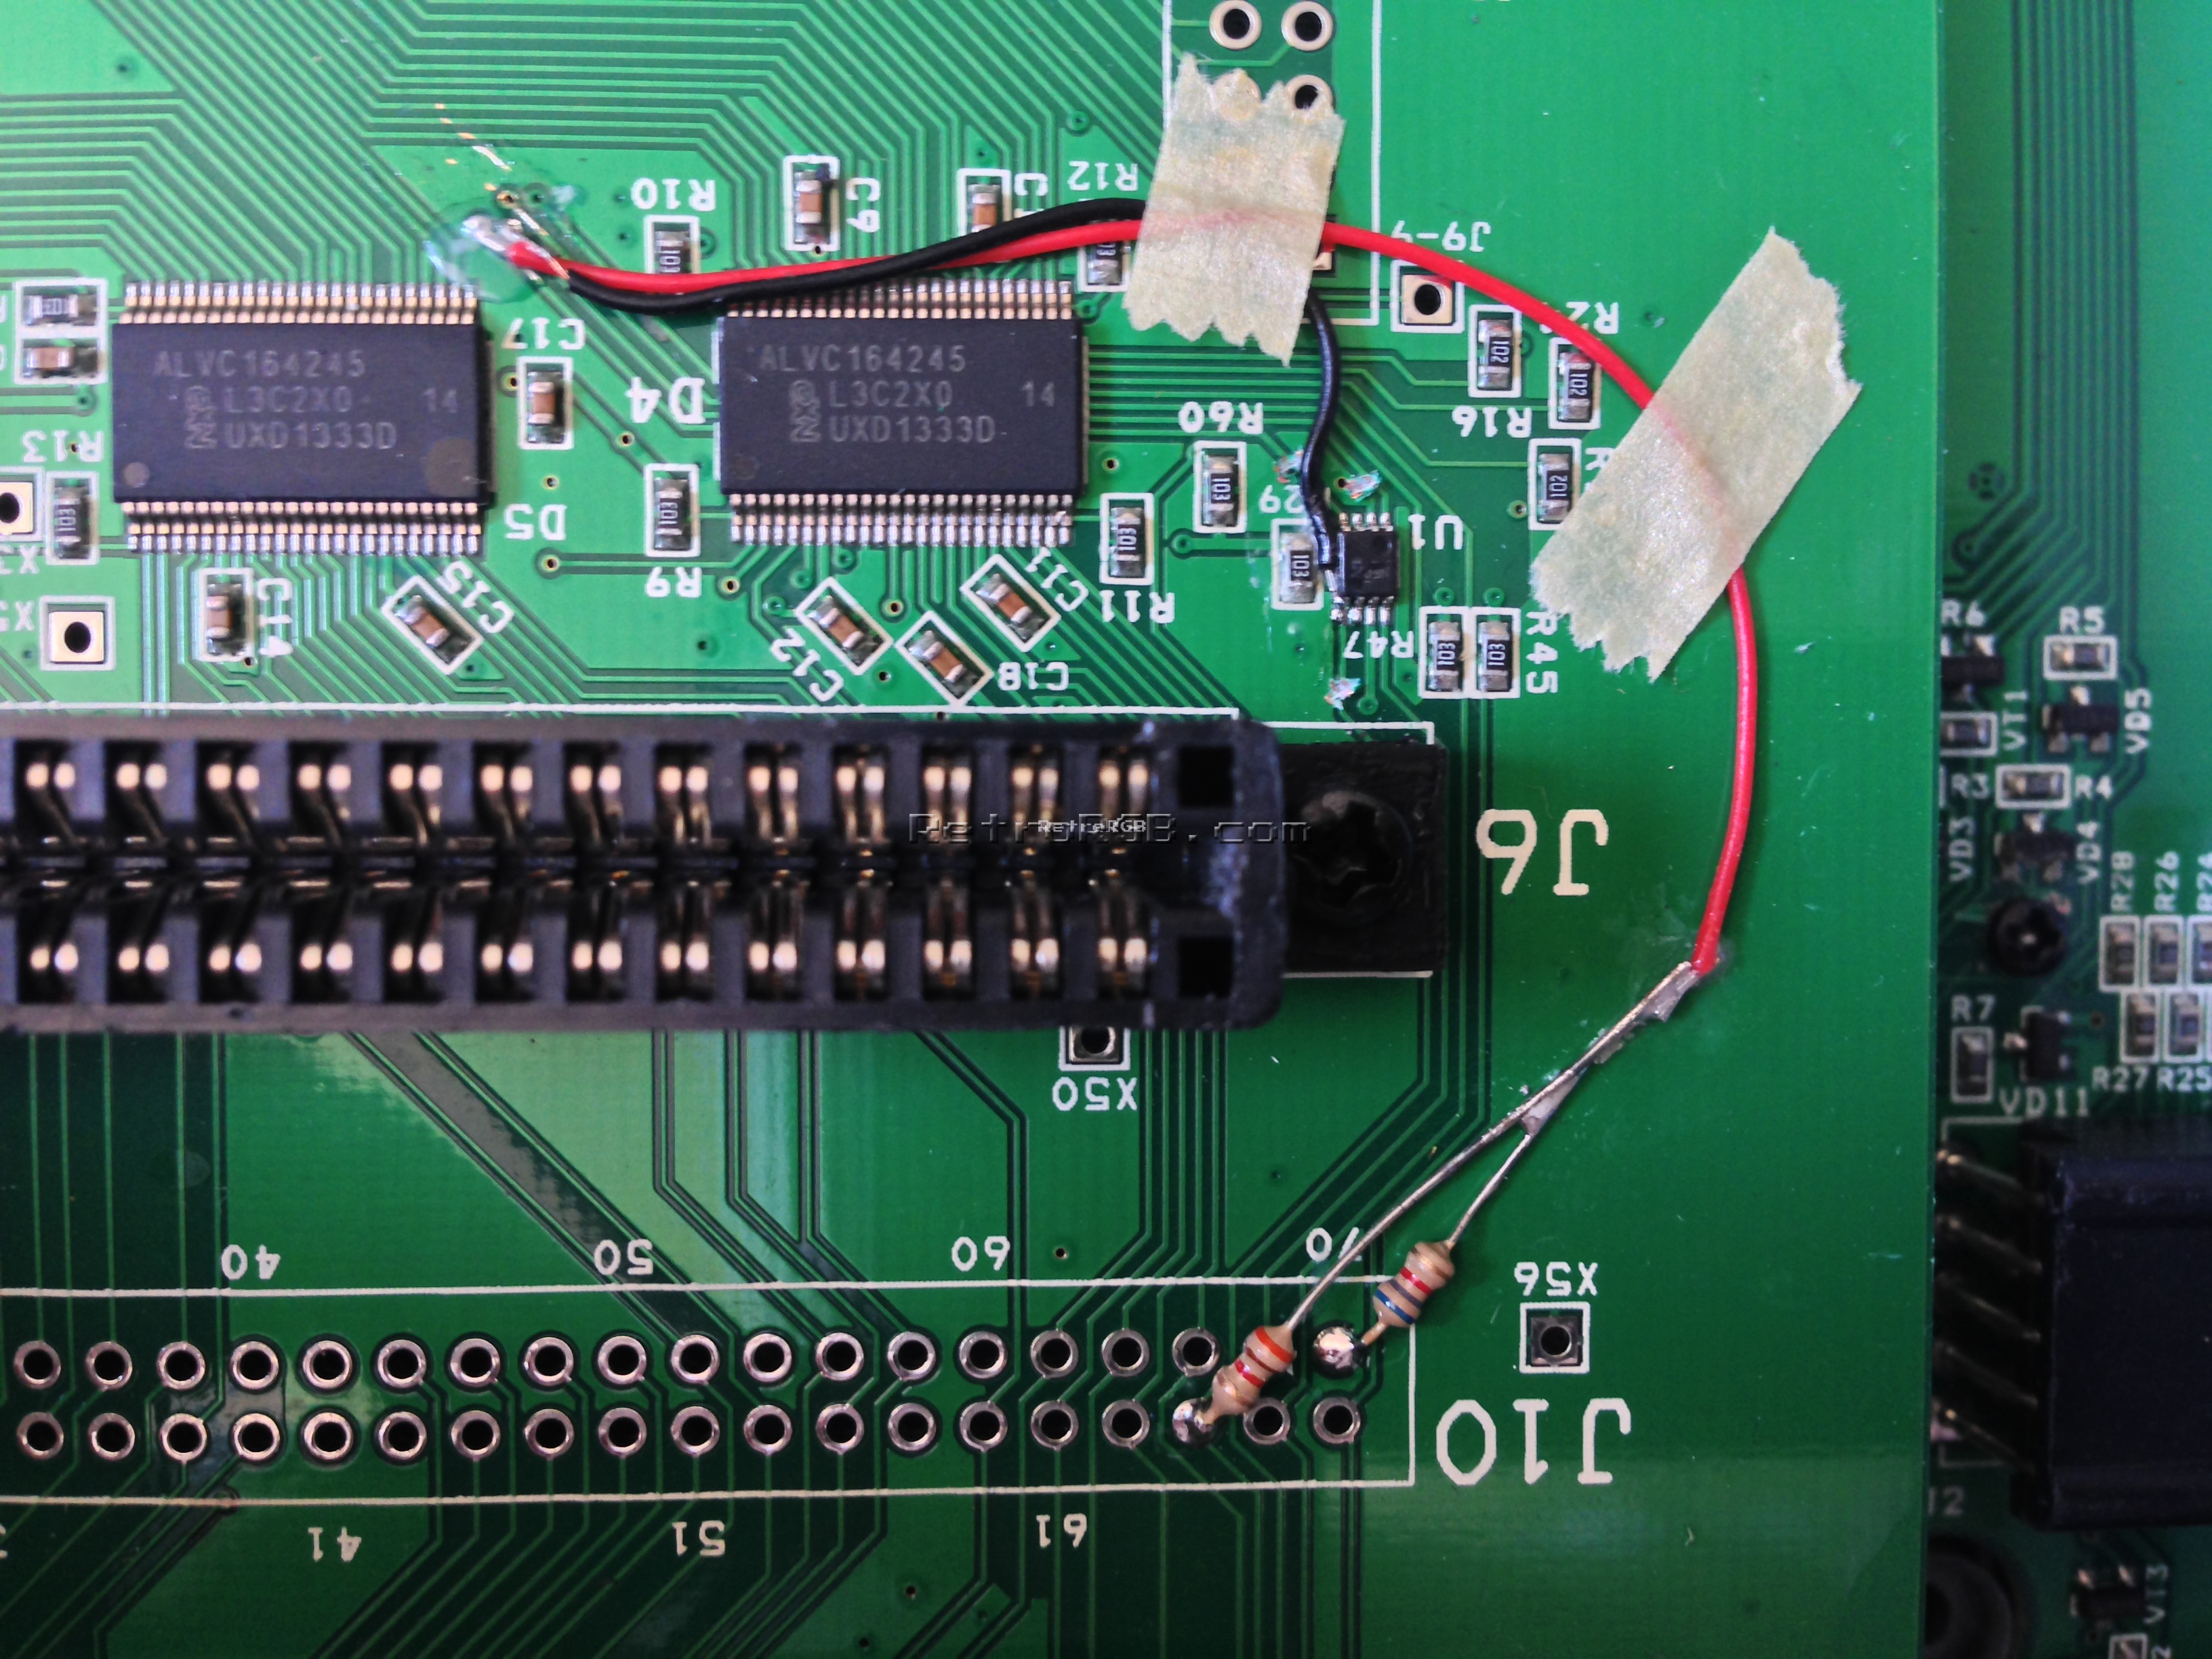
The bottom of the board shows a better view of the un-used cartridge slot: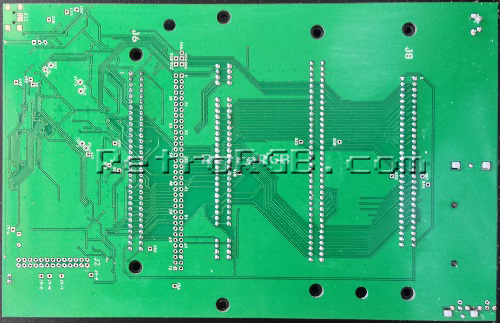
I was happy to see the controller ports mounted to PCB’s, instead of being cabled (click for full-sized):

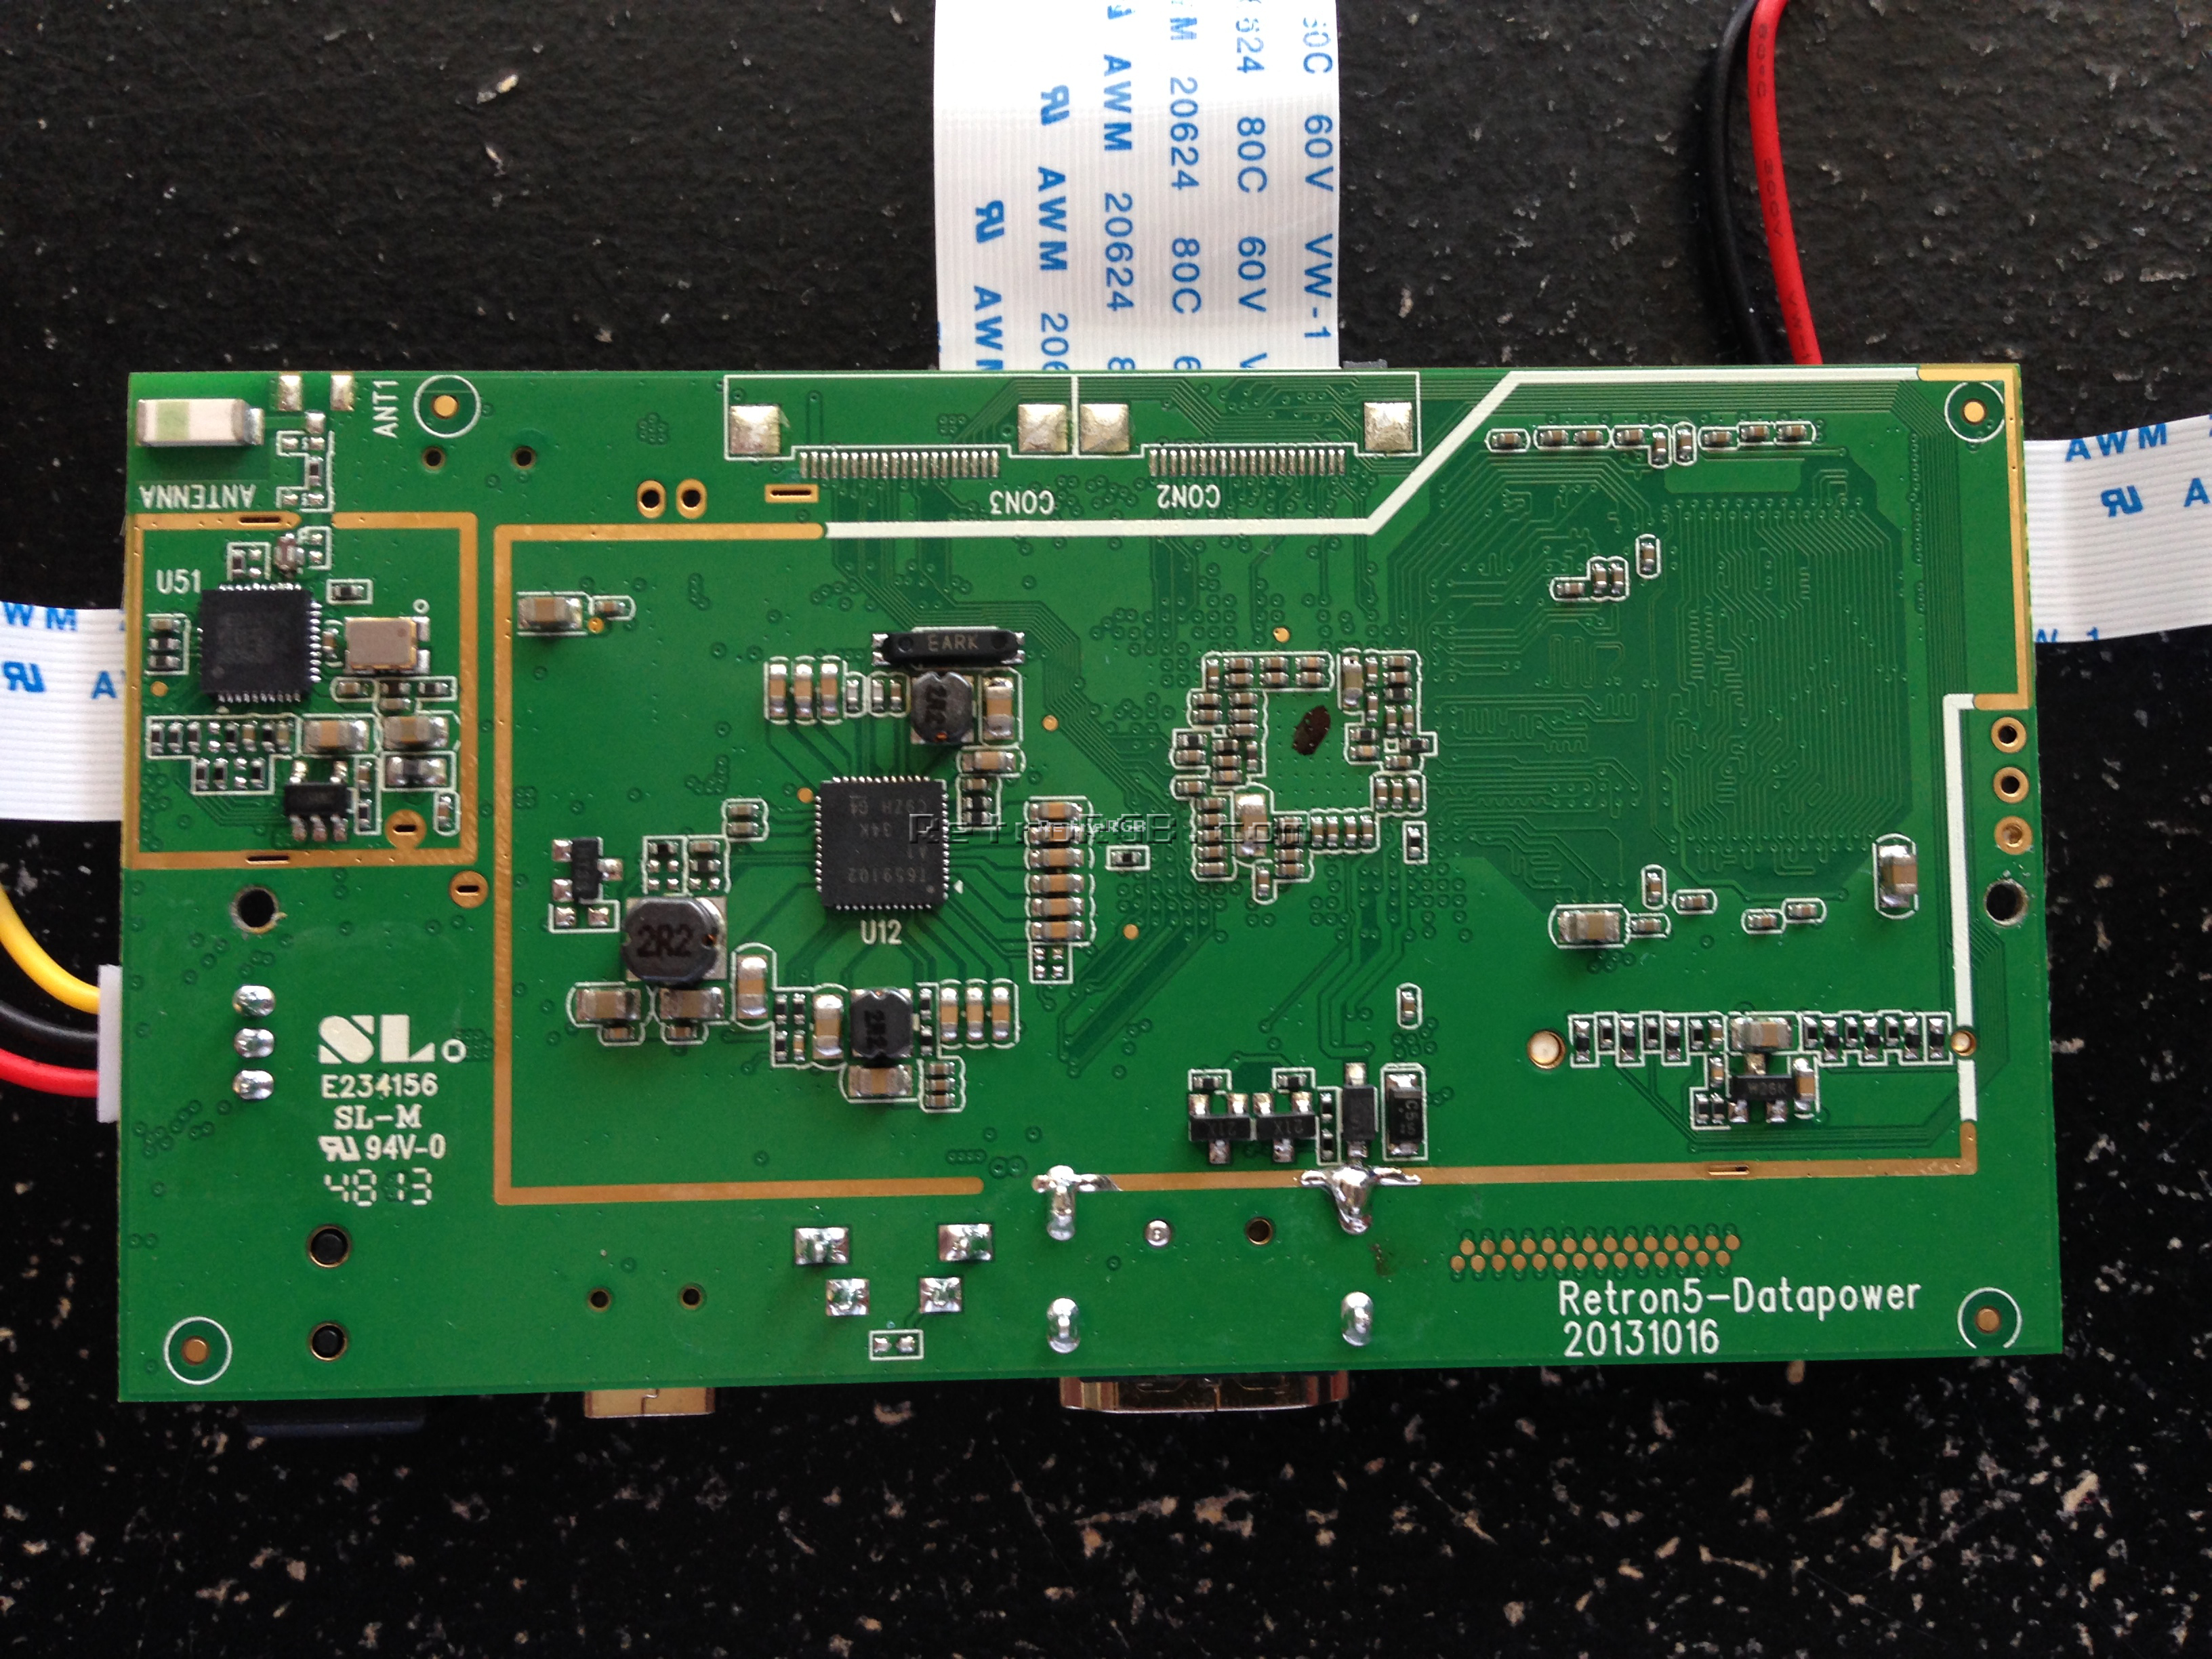
The rear board has the A/V and power ports and also looks like it contains the main processing unit (a 1.6Ghz Rockchip RK3066), as well as a Mali 400 quad-core GPU (click for full-sized):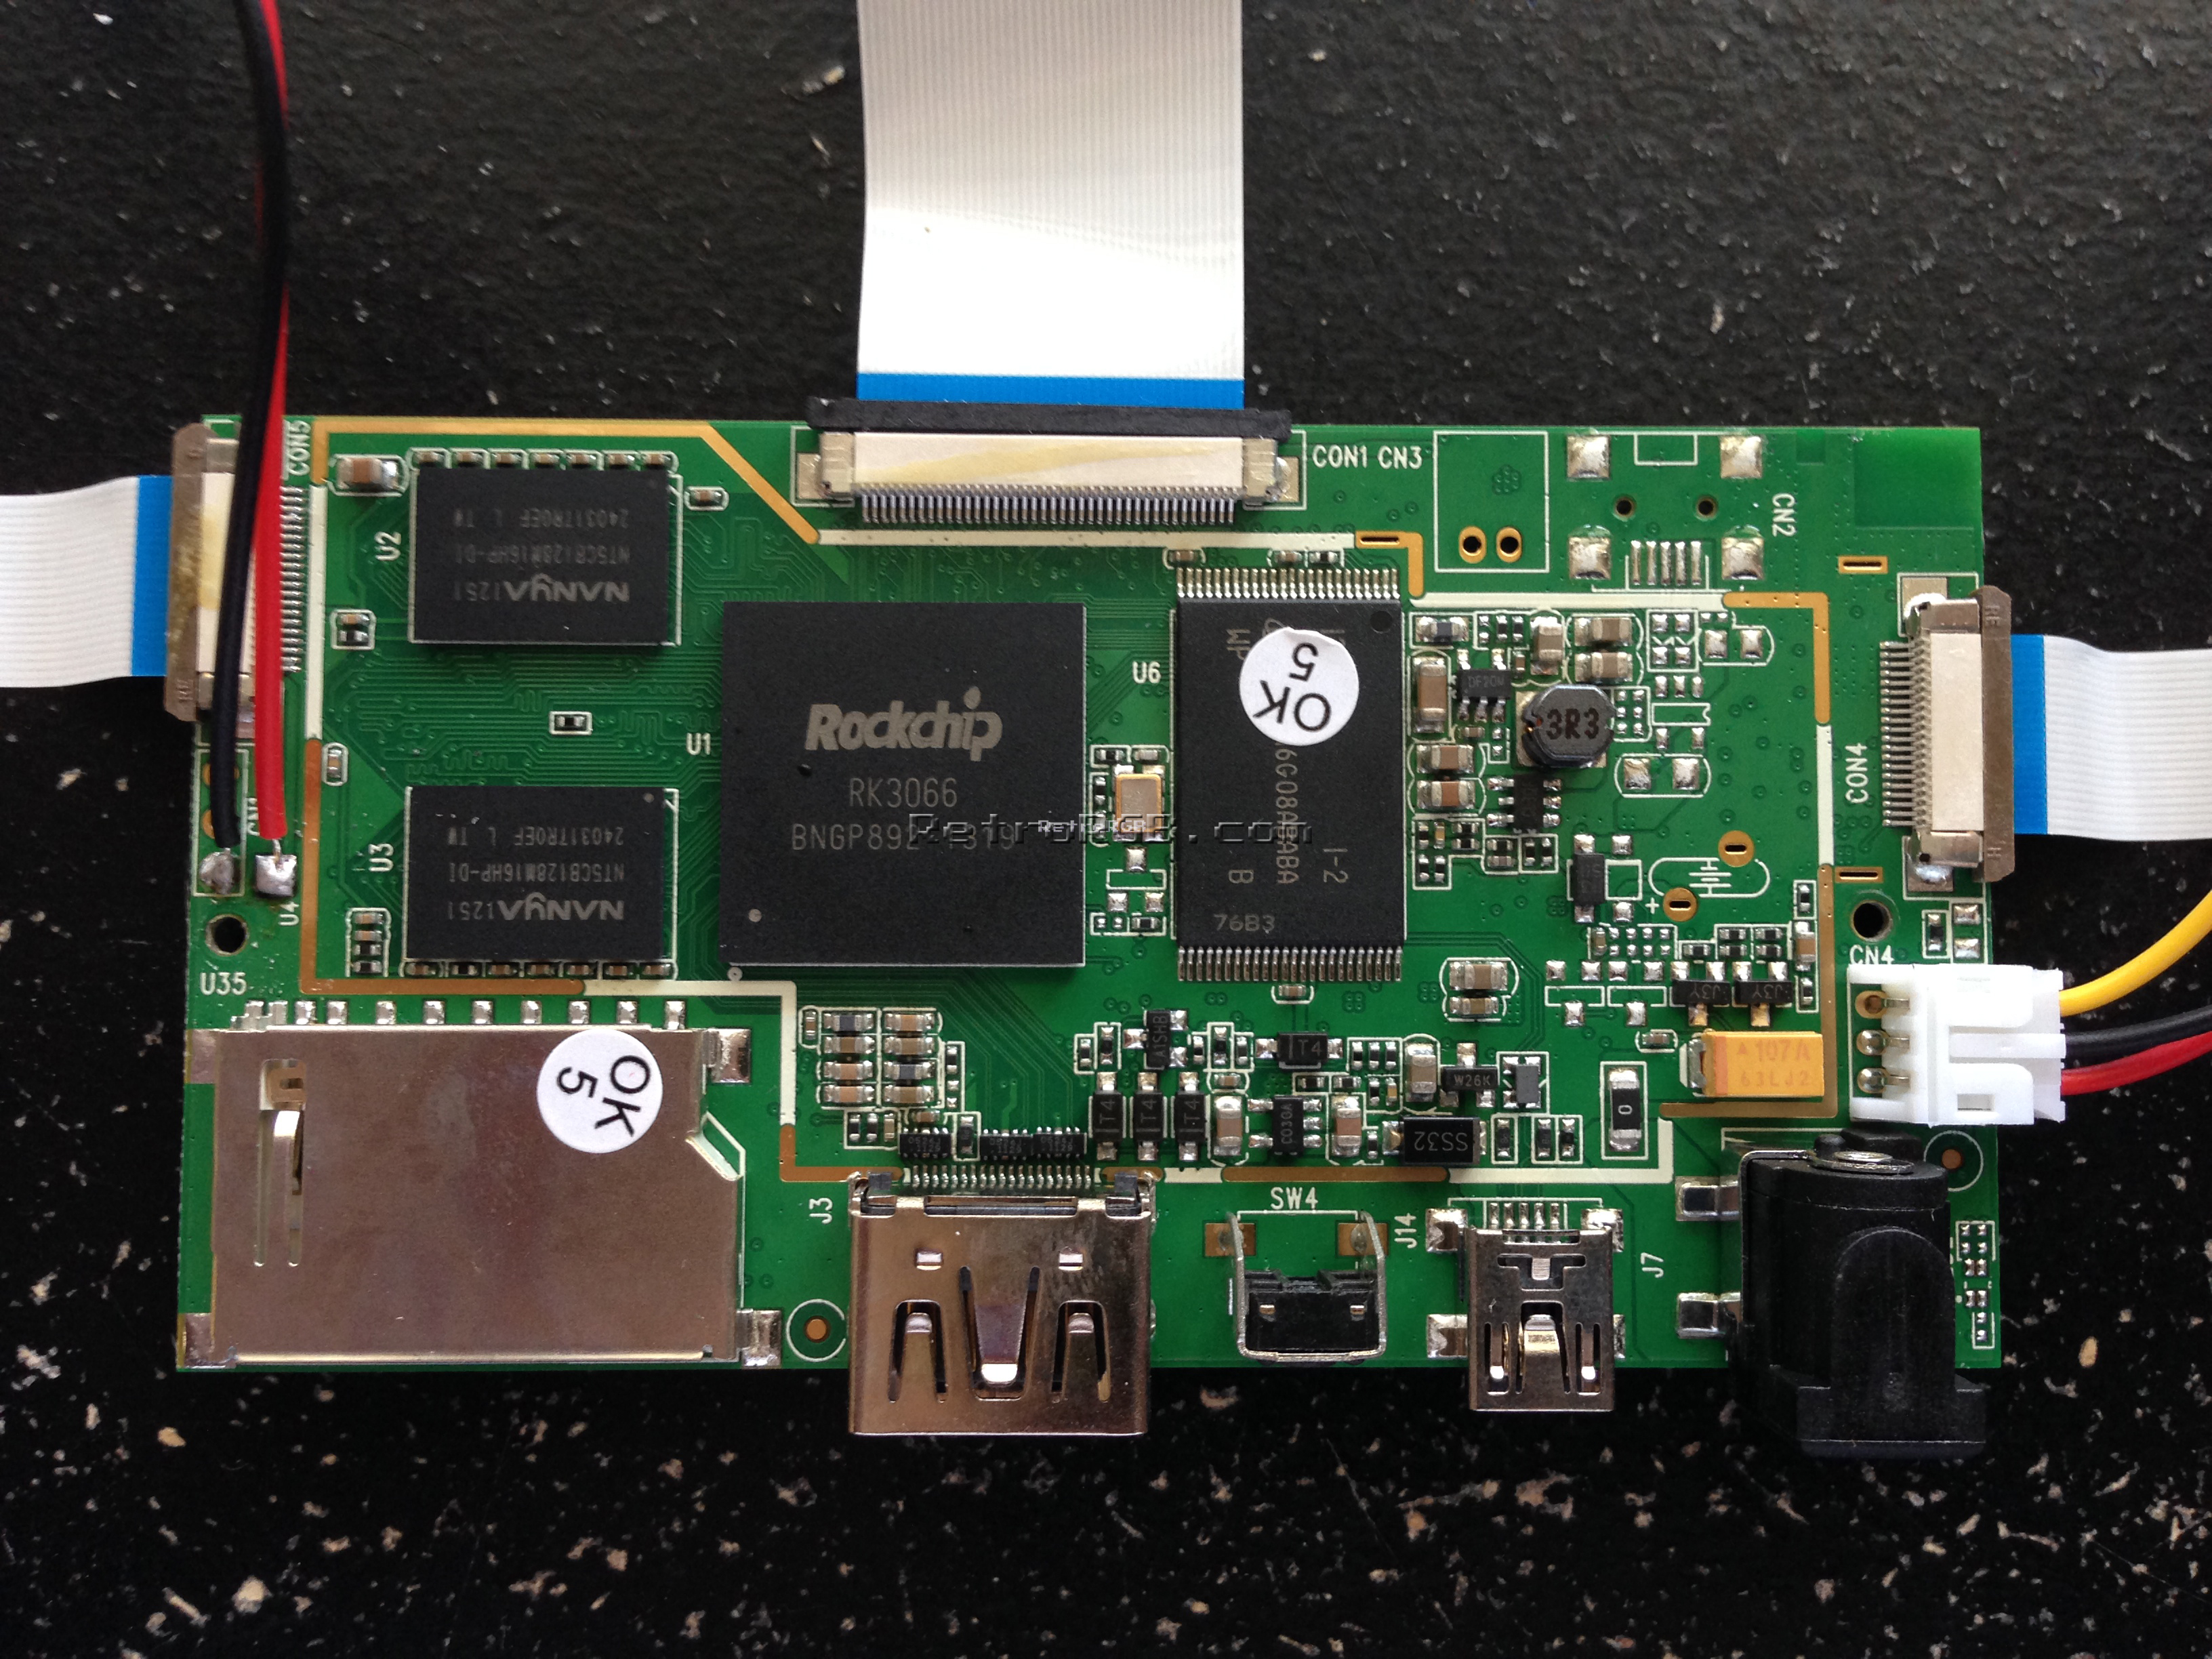
Overall, it’s a good design, but it’s very evident that the units I received are an un-refined first run of production. Hopefully some of the issues will be cleared up as new revisions are assembled. Other than the post-production fixes, my only complaint about it’s design is that there isn’t an integrated power supply. It’s very possible that Hyperkin attempted to include an internal power supply, but the resulting EMI would have required metal shielding, further raising the cost. This is a common issue in electronic hardware design and although their AC/DC “wall wart” isn’t nearly as big as the ones for the original systems, it still would have been nice to just use a flat, 2-prong AC cable.
That’s it for now. I’ll update the main Retron 5 page if I add anything new.
Please head back to the main Retron 5 page, or check out the main page for more retro-awesomeness.